Fortunately most of the elements of your Powerpoint presentation can be modified, including the order of the slides that you have created. Our guide below will show you how you can change the order of the slides that are in your slideshow.
Changing Slide Order in Powerpoint 2013
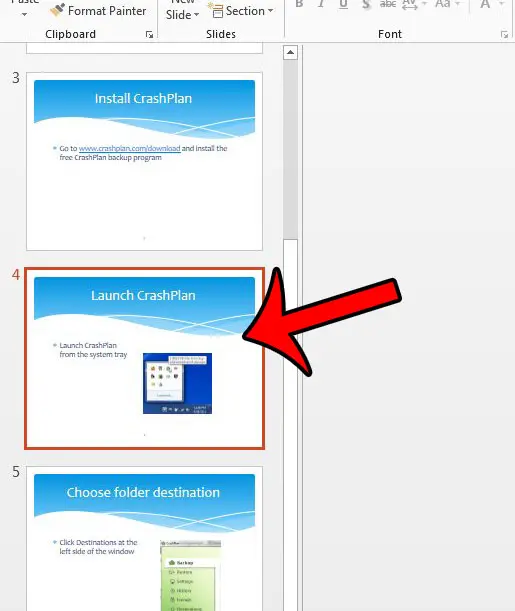
The steps in this article will show you how to change the position of an individual slide in your presentation using Powerpoint 2013. You can also delete unnecessary slides from your presentation by following the steps in this guide. Here is how to change the order of slides in a Powerpoint 2013 presentation – These steps are show below with pictures – Step 1: Open the presentation in Powerpoint 2013. Step 2: Locate the column of slides at the left side of the window, then find the slide that you wish to move to a different position in the slideshow. You will note that the current slide number is shown to the left of the slide.
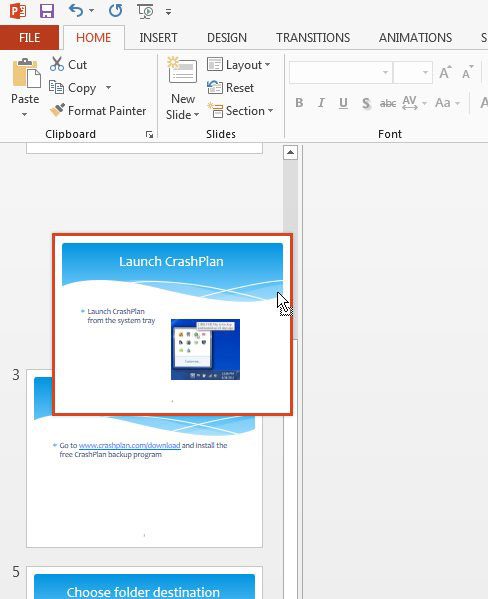
Step 3: Click on the slide that you wish to move and hold down the mouse button, then drag the slide to the position in the slideshow where you want it to be shown. Release the mouse button once the slide is in the right place.
If your presentation contained slide numbers, they will update automatically to reflect the new slide order. You can learn how to add slide numbers in Powerpoint 2013 if you are unsure of where this feature is located. After receiving his Bachelor’s and Master’s degrees in Computer Science he spent several years working in IT management for small businesses. However, he now works full time writing content online and creating websites. His main writing topics include iPhones, Microsoft Office, Google Apps, Android, and Photoshop, but he has also written about many other tech topics as well. Read his full bio here.
You may opt out at any time. Read our Privacy Policy