You might decide to change the default font in Outlook 2013 if you find the default font style or color to be unappealing. The font that you use in documents and emails can have an impact on how people read the information you create, so adjusting the default font for your email messages can have some positive impact. If you tired of the default font that you are using when you create messages in Outlook, or if you see other people using different and exciting fonts, then our guide below can show you how to make that change. While you can change the font for every message that you create in Outlook 2013 on an individual basis, it can be tedious. So a better option is to change the default font settings so that they are customized to your liking every time you go to type a new message. You can read below to learn how. Outlook has a lot of formatting options that you can use to customize your emails. Our strikethrough Outlook article will show you how to use strikethrough to draw a line through your email text.
Changing Default Fonts in Outlook 2013
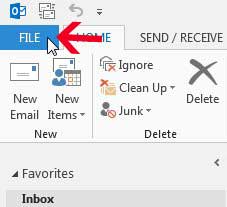
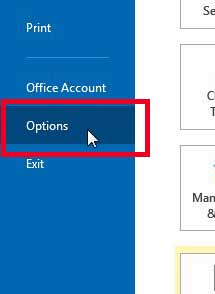
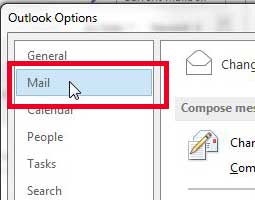
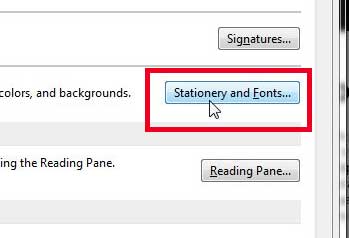
You are actually going to be given the option to set default fonts for a number of different scenarios, but we are going to focus on setting a default font for new messages in Outlook 2013. If you decide that you also want to set a default font for messages that you reply to, or messages that are written in plain text, you can still follow these same steps, but you will need to select the appropriate option in step 6. Step 1: Launch Outlook 2013. Step 2: Click the File tab at the top-left corner of the window. Step 3: Click Options in the column on the left. Step 4: Click Mail in the left column of the Outlook Options window. Step 5: Click the Stationery and Fonts button at the right side of the window. Step 6: Click the Font button under New mail messages. As noted earlier, you can come back to this screen later to change the default font for messages to which you reply or forward, or for plain text messages. Step 7: Choose your default font, and select any of the other settings that you want to apply to it. You don’t need to worry about the Set as Default button at the bottom-left corner of the window. That will remain grayed out as you are making changes. Step 8: Click the OK button to save your changes, then click the OK buttons on the Signature and Stationery and Outlook Options windows to return to Outlook.
Summary – How to set the default font in Outlook 2013
You can go to the Google Fonts library to download new font types if you don’t see something on your computer that you like. Don’t like the way your name is appearing on emails that you send? Learn how to change the way your name is displayed in Outlook 2013 if you want your message recipients to see a different name when you email them. After receiving his Bachelor’s and Master’s degrees in Computer Science he spent several years working in IT management for small businesses. However, he now works full time writing content online and creating websites. His main writing topics include iPhones, Microsoft Office, Google Apps, Android, and Photoshop, but he has also written about many other tech topics as well. Read his full bio here.
You may opt out at any time. Read our Privacy Policy