Microsoft Word has a lot of possible applications aside from simple document creation. For example, you might use it to create a newsletter or flyer, which will inspire you to modify your text in ways that typical document editing may not require. One such modification is the option to change the direction in which your text is oriented. This is not possible in the main document body, but you can use text boxes to position and rotate text as needed. Our guide below will show you how to create and populate a text box, then use a couple of different options to rotate the text contained within the box.
Change Text Direction in Word – Quick Summary
For additional information, including pictures for these steps, continue to the section below. If you need to move your content to the center of the page, then our guide on how to center text in Word can help you out.
Changing the Direction of Text in a Text Box in Word 2013
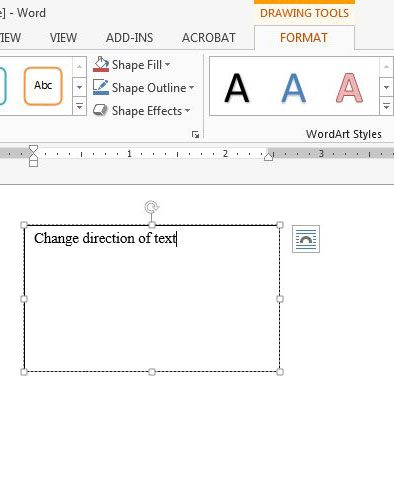
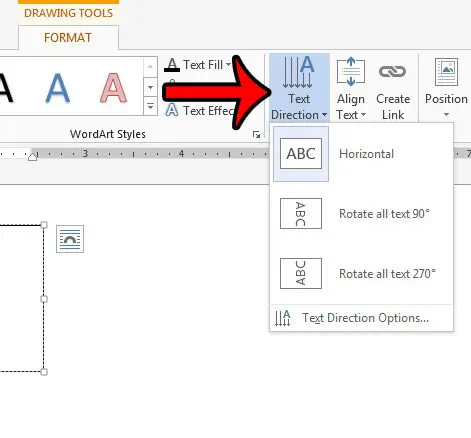
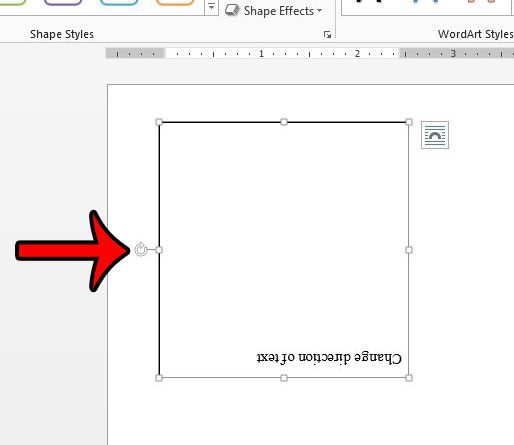
The steps below will show you how to create a text box, add text to it, then change the direction of that text. Your text can be either horizontal (default), it can be rotated by 90 degrees, or it can be rotated by 270 degrees. If you would like the direction of your text to be different than one of the default options, you can also click the rotation handle on the text box and drag it until your text is situated correctly. Now that you know how to change the direction of text in Microsoft Word you will be able to use it when you are working on a document that needs upside down or tilted text. If you’ve noticed Word deleting text as you type, then you can read our why does typing delete letters guide and change a setting to fix it.
How to Add the Right-to-left Text Direction Button in Word
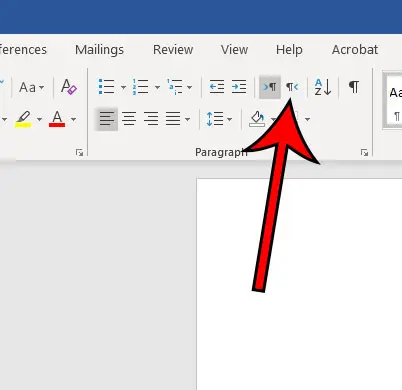
If you instead need to switch from a left-to-right to a right-to-left option when entering text into the document body, then there are some actions you need to take first. Step 1: Click the File tab at the top-left of the window. Step 2: Click the Options button in the left column. Step 3: Choose the Language tab. Step 4: Click the Add additional editing languages dropdown menu, choose a right-to-left language, then click the Add button. Step 5: Click OK at the bottom of the window. Note that you will need to restart Word for this change to take effect. Step 6: Click the Right-to-left Text Direction button in the Paragraph section of the Home tab. Is there text in your document that you do not want to be visible, but you aren’t ready to delete it? Learn how to hide text in Microsoft Word 2013 and give yourself a new option for formatting your text. After receiving his Bachelor’s and Master’s degrees in Computer Science he spent several years working in IT management for small businesses. However, he now works full time writing content online and creating websites. His main writing topics include iPhones, Microsoft Office, Google Apps, Android, and Photoshop, but he has also written about many other tech topics as well. Read his full bio here.