Renaming a Memory Card in Windows 7
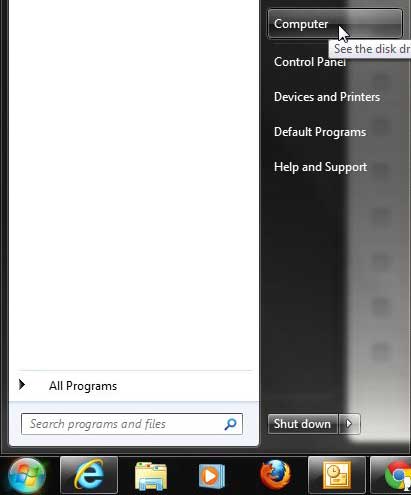
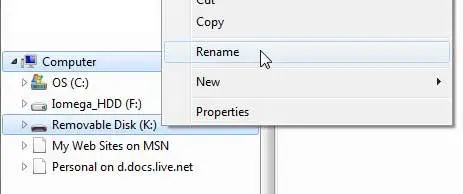
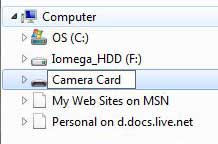
A lot of computers now are coming with memory card slots or drives that allow you to easily insert them into your computer. But you may be limited by the number of slots you have, so I personally like to use something like this Sony USB memory card reader. It connects easily through a USB port and provides several card slots for different types of media. So whichever method you use to connect your memory cards to your computer, you can use the steps below to rename them. Step 1: Click the Start button at the bottom-left corner of your screen, then click the Computer option at the right side of the menu. Step 2: Right-click the memory card that you want to rename, then click the Rename option. Note that you can click either the icon at the right part of the window, or the name at the left side of the window. Step 3: Type your desired name into the field, then press Enter on your keyboard. Note that you are limited in the number of characters that you can use, so keep the name as short as possible. The name will take effect instantly, and you will be able to identify that card by that name the next time you connect it to your computer. After receiving his Bachelor’s and Master’s degrees in Computer Science he spent several years working in IT management for small businesses. However, he now works full time writing content online and creating websites. His main writing topics include iPhones, Microsoft Office, Google Apps, Android, and Photoshop, but he has also written about many other tech topics as well. Read his full bio here.