While your initial thought might be that you will need extra software to accomplish this file conversion, you can actually perform it directly in Powerpoint 2013. Our tutorial below will show you how to convert your Powerpoint presentation to an MP4 file using only Powerpoint 2013.
Quick Summary – How to Save a Powerpoint File as an MP4 Video
For an expanded explanation of these steps, as well as pictures, continue with the section below.
Expanded – How to Convert a Powerpoint Slideshow to an MP4 Video in Powerpoint 2013
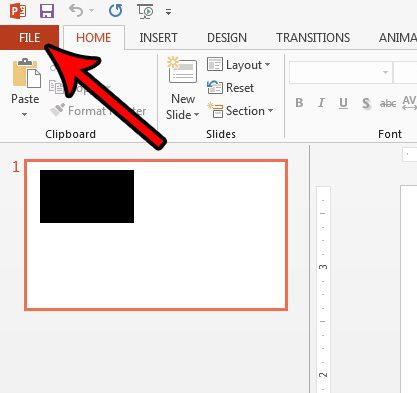
The steps in this guide are going to show you how to create an MP4 video from your Powerpoint presentation using only Microsoft Powerpoint 2013. The result of this process will be a video file of your presentation that can have recordings and narrations if you so choose. Step 1: Open the presentation in Powerpoint 2013 that you want to convert to an MP4 file. Step 2: Click the File tab at the top-left corner of the window.
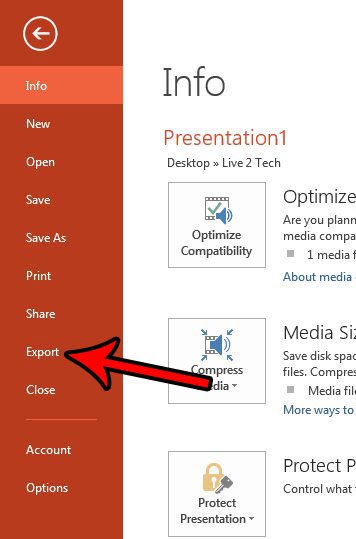
Step 3: Click the Export button in the left column of the window.
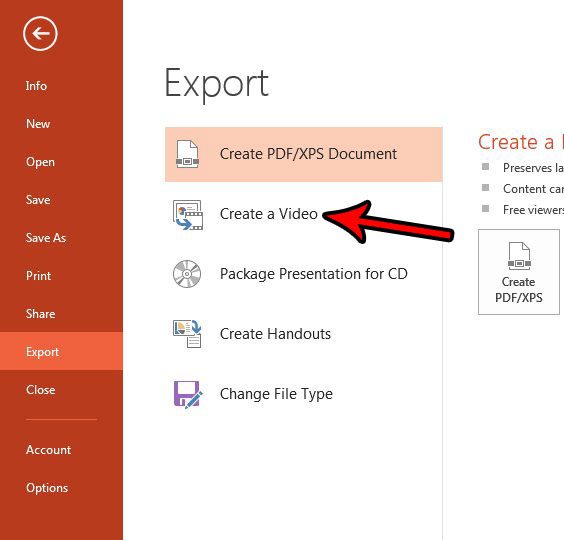
Step 4: Select the Create a Video option in the middle column of the window.
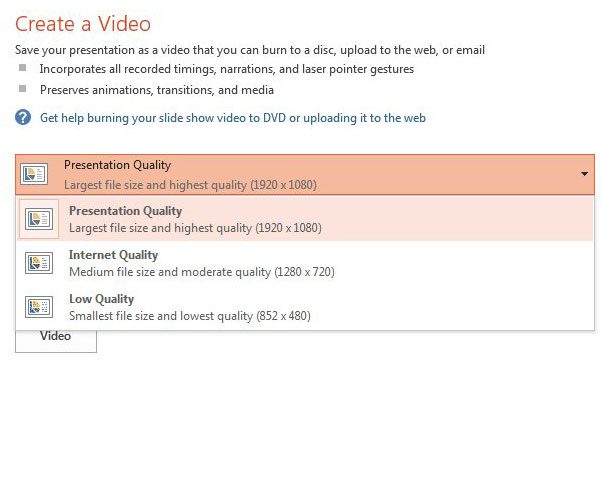
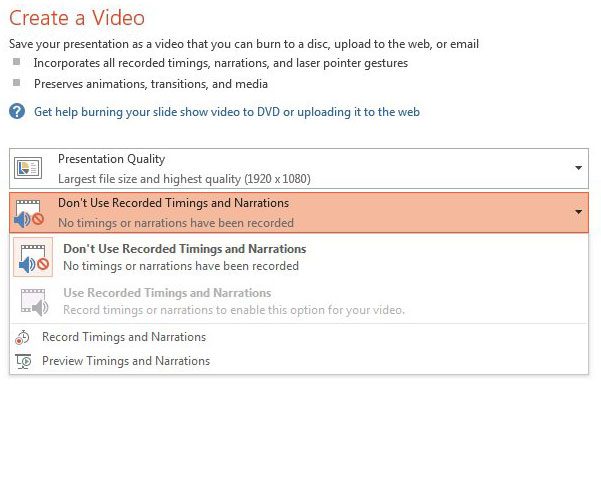
Step 5: Select the Presentation Quality dropdown menu and choose the quality of the exported MP4 file.
You can choose from the following quality options:
Presentation Quality – 1920 x 1080 pixels. This is the highest quality video you can create from your presentation, and it’s suitable if you are going to be presenting on a large screen. This also creates the highest file size. Internet Quality – 1280 x 720 pixels. This is the medium quality video option, and it is suitable for uploading the video to something like YouTube, or if you want to have the best balance between video quality and file size. While this is still considered high-definition, it is a step down from the Presentation Quality option. Low Quality – 852 x 480 pixels. This is the lowest quality video file you can create. It will result in the smallest file size, meaning that it will be the easiest file to share, but the low quality is most suitable if your audience is going to be watching this on a small device, or if the resolution of the video isn’t that important.
Step 6: Click the Recorded Timings and Narrations button to select how you want to handle your existing presentation timings and narrations. Note that you can also elect to create these things from this dropdown menu as well.
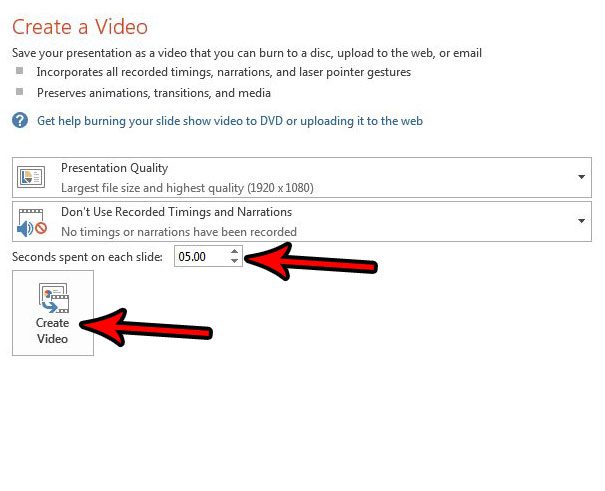
Step 7: Adjust the value in the Seconds spent on each slide field, then click the Create Video button.
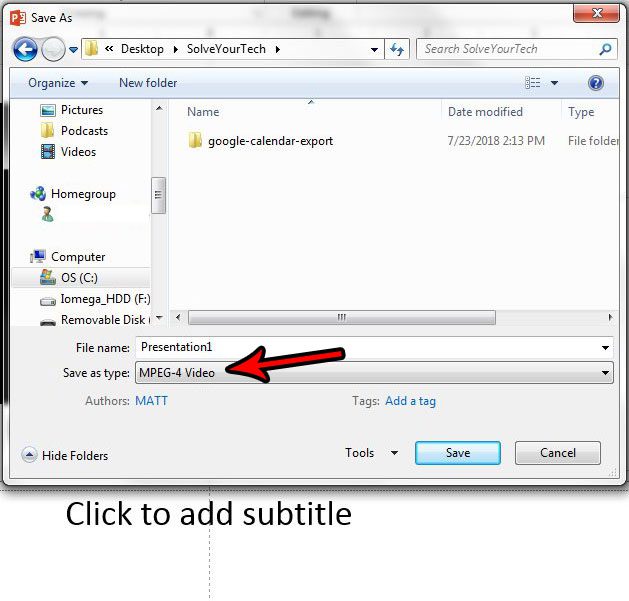
Step 8: Browse to the location on your computer where you want the converted MP4 file to be saved, give the file a name, click the Save as type dropdown menu and select the MPEG-4 option, then click the Save button.
It may take several minutes for the conversion to complete, depending on your computer and the size of the presentation. Do you need your presentation slides to be in a different aspect ration than what is currently being used? Read our guide on sizing your slides for legal paper and see how you can adjust the dimensions of your slides. After receiving his Bachelor’s and Master’s degrees in Computer Science he spent several years working in IT management for small businesses. However, he now works full time writing content online and creating websites. His main writing topics include iPhones, Microsoft Office, Google Apps, Android, and Photoshop, but he has also written about many other tech topics as well. Read his full bio here.
You may opt out at any time. Read our Privacy Policy