You might have considered copying and pasting it to another document, but there is actually an option in Microsoft Word that lets you hide some of your text. This lets you keep that content in the document while hiding it from anyone that is reading it. Our tutorial below will show you how to hide text in Microsoft Word by selecting that text and using an option on the Font dialog box.
Word 2013 Guide for Working with Hidden Text
Our guide continues below with additional information on how ot hide text in Microsoft Word, including pictures of these steps. Sometimes when you write a document in Word 2013 there might be information that you are unsure about whether or not to include. Or, perhaps you are showing a document to multiple audiences, and those different audiences require some different information. Rather than having two documents, it can be beneficial for you to simply hide parts of the document from view. This will let you share the document with an audience without a part of your document, but still leave that part in there in case you decide to add it back in later. Our guide below will show you how to hide text in Word 2013.
How to Make Hidden Text in a Word 2013 Document (Guide with Pictures)
The steps in this article are going to show you how to hide text in your document. This will make it so that the text isn’t visible, but it won’t delete it from the document. You will be able to unhide that text later if you need to.
Step 1: Open the document containing the text that you want to hide.
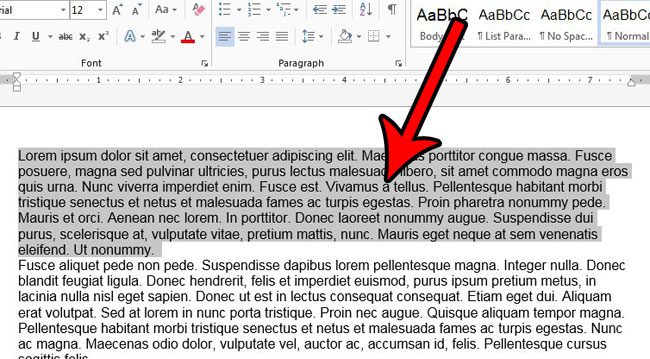
Step 2: Select the text that you wish to hide.
Step 3: Click the Home tab at the top of the window, then click the small Font button at the bottom-right corner of the Font section in the ribbon.
Step 4: Check the box to the left of Hidden to add a check mark, then click the OK button at the bottom of the window.
Now that you know how to hide text in a Microsoft Word document you will be able ot use this technique whenever you have content in a document that you don’t want to show to someone. You can unhide text in Microsoft Word by selecting the text around the hidden text, then returning to the Font dialog box and unchecking the Hidden box. Note that you might need to click that box a couple of times to clear the check mark. If you’re making a newsletter or a flyer, then you may need to add really big text to your document. But you might be struggling to make the text bigger than the largest font size that is offered. Learn how to use font sizes bigger than 72 pt in Word 2013 so that you can continue creating the documents that your project requires.
Additional Sources
After receiving his Bachelor’s and Master’s degrees in Computer Science he spent several years working in IT management for small businesses. However, he now works full time writing content online and creating websites. His main writing topics include iPhones, Microsoft Office, Google Apps, Android, and Photoshop, but he has also written about many other tech topics as well. Read his full bio here.
You may opt out at any time. Read our Privacy Policy