This tab is not a required navigational elements in Word 2013, so it is possible to hide it from view. Our guide below will walk you through the process of removing the Add-Ins tab in Word.
Hiding the “Add-Ins” Tab in Word 2013
The steps in this article will show you how to hide a tab that is appearing at the top of your window called “Add-Ins.” This method can also be used to remove other unwanted tabs as well.
Here is how to remove the “Add-Ins” tab from the Word 2013 ribbon –
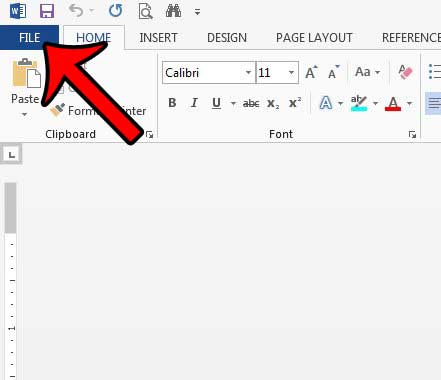
These steps are repeated below with pictures – Step 1: Open Word 2013. Step 2: Click the File tab at the top-left corner of the window.
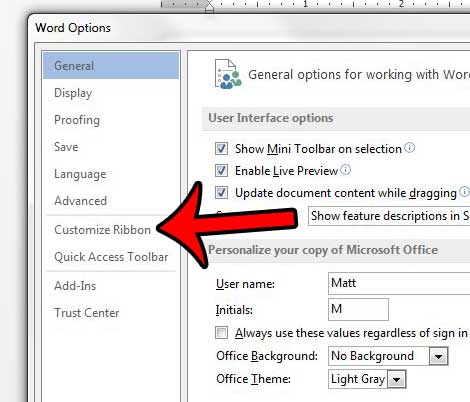
Step 3: Click Options at the bottom of the left column. This opens a new window called Word Options.
Step 4: Click the Customize Ribbon option at the left side of the Word Options window.
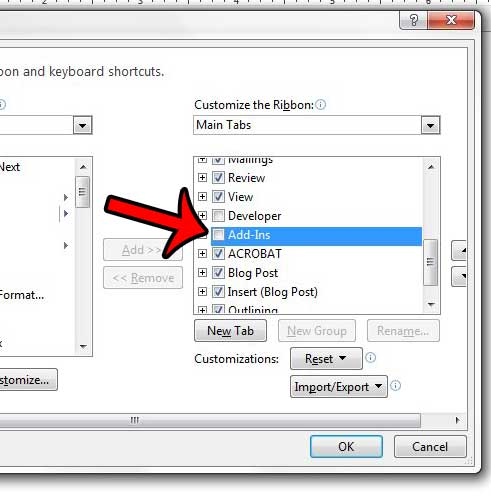
Step 5: Locate the Add-Ins option in the column at the right side of the window, then click the box to the left of it to clear the check mark. You can then click the OK button at the bottom of the window to save your changes and close Word Options.
The Add-Ins tab above the ribbon should now be hidden. Is the ribbon in Word 2013 minimized by default? Learn how to keep the ribbon expanded in Word 2013 to provide quicker access to the tools and settings you need. After receiving his Bachelor’s and Master’s degrees in Computer Science he spent several years working in IT management for small businesses. However, he now works full time writing content online and creating websites. His main writing topics include iPhones, Microsoft Office, Google Apps, Android, and Photoshop, but he has also written about many other tech topics as well. Read his full bio here.