Our article continues below with additional information and pictures of these steps. Some Microsoft Excel 2010 spreadsheets can be more complicated than others. Very involved worksheets can include a combination of formulas and information that is very complex, and even slight changes to certain cells could lead to disastrous occurrences for the rest of the data on the sheet. If you have finalized such a complex worksheet and want to ensure that particularly important data is not altered, then you need to learn how to lock a cell in Excel 2010. Excel provides you with the option of locking each cell individually, which leaves the rest of the worksheet open for potential edits by yourself or anyone else with editing permissions for your workbook.
Locking a Single Cell in Excel 2010
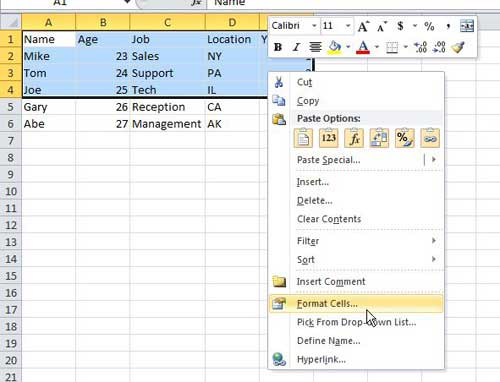
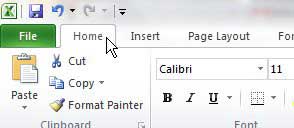
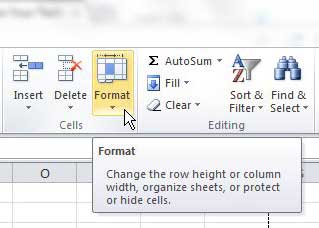
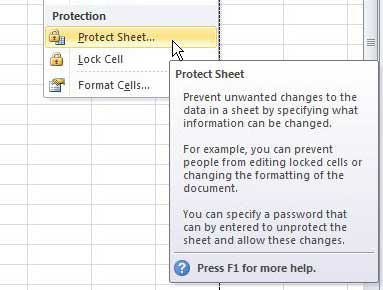
Many people select the option of locking their entire workbook or worksheet, which is a much more thorough way of locking down the data in your Excel file. However, in many cases, that sort of total change can be counterproductive if changes still need to be made. That is why Excel 2010’s inclusion of the single-cell locking feature is so helpful. Step 1: Begin by opening your Excel 2010 workbook that contains the cell you want to lock. Step 2: Click the cell(s) that contains the data you DO NOT want to lock. Step 3: Right-click one of the selected cells, then click Format Cells. Step 4: Click the Protection tab at the top of the window, clear the check mark to the left of Locked, then click the OK button. Step 5: Click the Home tab at the top of the window. Step 6: Click the Format drop-down menu in the Cells section of the ribbon at the top of the window. Step 7: Click the Protect Sheet option at the bottom of the menu. Step 6: Type a password that will be needed to edit or unlock the locked cell(s) into the field at the top of the window, then click the OK button at the top of the window. By default, viewers of your worksheet will only be able to view and select your locked cells. However, you can check additional options on this window if you also want to allow them to make other changes. Step 7: Re-enter your password to confirm, then click OK. If you decide that you want to make any changes to a cell that is currently locked, you will need to use the Unprotect Sheet option from the Format menu, make the change, then go back and reset a new password for the sheet. If you are only locking one cell in your entire spreadsheet, then it might be a little easier to click one cell, press Ctrl + A to select all of your cells, then hold down the Ctrl key on your keyboard and click the cell that you want to lock. Doing this will cause all of your cells to be selected except for the one that you clicked while holding down the Ctrl key. This process can be a little confusing at first due to the fact that cells are locked by default, they simply don’t have a password set. If you are locking some (or all) of your cells because your spreadsheet is finished, then it’s a little easier. It really only becomes challenging when you have a mixture of cells that need to be locked or unlocked, rather than all of them needing to be set that way.
See also
How to subtract in ExcelHow to sort by date in ExcelHow to center a worksheet in ExcelHow to select non-adjacent cells in ExcelHow to unhide a hidden workbook in ExcelHow to make Excel vertical text
After receiving his Bachelor’s and Master’s degrees in Computer Science he spent several years working in IT management for small businesses. However, he now works full time writing content online and creating websites. His main writing topics include iPhones, Microsoft Office, Google Apps, Android, and Photoshop, but he has also written about many other tech topics as well. Read his full bio here.