Printing an Email with AirPrint on Your iPad 2
So now that you know you have an AirPrint compatible printer and it’s connected to your home or office wireless network, you are ready to print an email from your iPad to the printer. Step 1: Make sure that your iPad and your printer are on the same wireless network. You can learn how to connect to a Wi-Fi network from your iPad with this article. Step 2: Open the Mail app on your iPad.
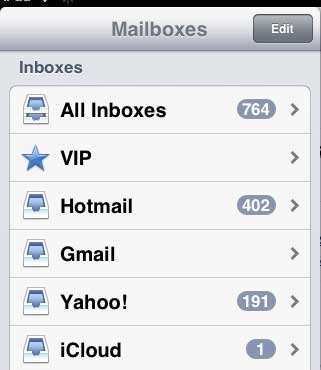
Step 3: Open the mail folder containing the message that you want to print.
Step 4: Select the message that you want to print.
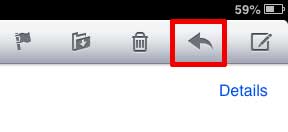
Step 5: Touch the arrow icon at the top of the screen.
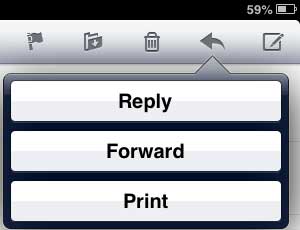
Step 6: Touch the Print button.
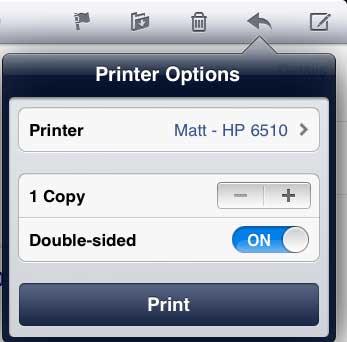
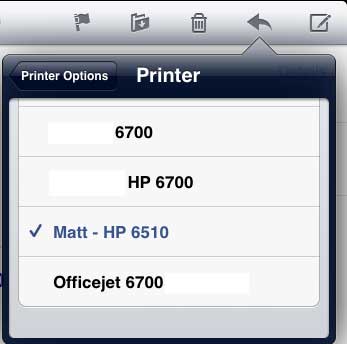
Step 7: Touch the Printer button.
Step 8: Select the printer on which you want to print the email.
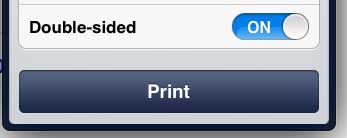
Step 9: Touch the Print button.
If you want to print from your iPad, but your printer isn’t compatible, then there are a number of affordable printers that you can get. The Officejet 6700, for example, is a great all-in-one printer, with affordable ink that you can buy in most stores. You can use a similar method to print pictures on your iPad 2 as well. After receiving his Bachelor’s and Master’s degrees in Computer Science he spent several years working in IT management for small businesses. However, he now works full time writing content online and creating websites. His main writing topics include iPhones, Microsoft Office, Google Apps, Android, and Photoshop, but he has also written about many other tech topics as well. Read his full bio here.
You may opt out at any time. Read our Privacy Policy