Show Excel 2010 Page Break Lines by Default
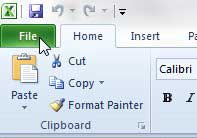
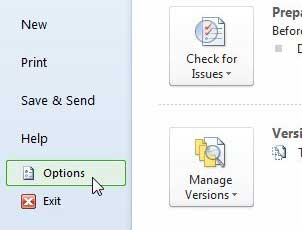
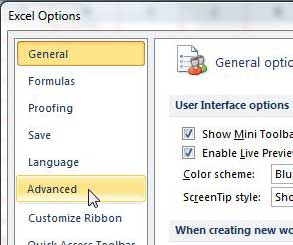
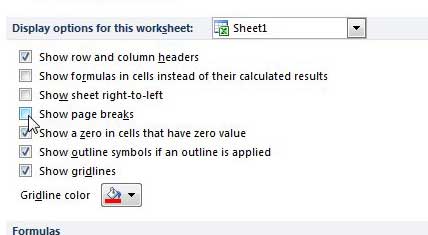
Like many of the other default changes that you can make to an Excel 2010 spreadsheet, the setting that you need to modify is found on the Excel Options menu. Changes that you make in this menu will affect the default way that your spreadsheet is displayed, and the default way that it operates. What this means is that a change to the Excel Options menu will automatically be applied to all new documents until you choose to change that option again. Note that, in addition to the method below, there is also a Page Break Preview option on the View tab that lets you see how you worksheet is split up into pages. The method below adjusts the display of your page breaks in Normal view. However, if you manually add page breaks, they will be indicated by solid lines in Normal view as well. The automatic page breaks we are displaying with the method below will be indicated on the screen by dashed lines instead. Step 1: Launch Microsoft Excel 2010. Step 2: Click the File tab at the top of the window. Step 3: Click Options at the bottom of the left column to open the Excel Options window. Step 4: Click Advanced in the column at the left side of the Excel Options window. Step 5: Scroll to the Display options for this worksheet section, then check the box to the left of Show page breaks. Note that this is only changing the option for the worksheet that is currently active. If you want to make this change for other worksheets, you will need to create that sheet in the current workbook, then choose the sheet from the drop-down menu to the right of Display options for this worksheet. Step 6: Click the OK button at the bottom of the window. You should now see the page breaks on the current worksheet. If you are only using automatic page breaks and aren’t interest in creating manual ones, then you can adjust the size of your spreadsheet by clicking the Page Setup dialog box launcher at the bottom-right of the Page Setup section on the Page Layout tab. On that menu is a Scaling section where you can choose the number of pages to fit the spreadsheet to. After changing something there you can click the Print Preview button to see what the printed version of your sheet looks like. If you haven’t made any changes to your spreadsheet concerning page breaks, then what you are currently seeing is probably made up entirely of automatic page breaks, which Excel creates on its own. However, you are able to create manual page breaks as well. To create a new page break in Microsoft Excel, simply choose the row number or column letter before which you want to add the horizontal or vertical page break, respectively. Then click the Page Layout tab at the top of the window, click the Breaks button, then choose the Insert Page Break option. You will note that, on that dropdown menu, there is also a Remove Page Break option. This lets you delete a page break that you have added manually. Simply click the row number after the horizontal page break, or the column letter after the vertical page break, then select the Remove Page Break option. Finally you can use the Reset All Page Breaks option if you would like to get rid of all of the page breaks that you have manually added to your page. After receiving his Bachelor’s and Master’s degrees in Computer Science he spent several years working in IT management for small businesses. However, he now works full time writing content online and creating websites. His main writing topics include iPhones, Microsoft Office, Google Apps, Android, and Photoshop, but he has also written about many other tech topics as well. Read his full bio here.
You may opt out at any time. Read our Privacy Policy