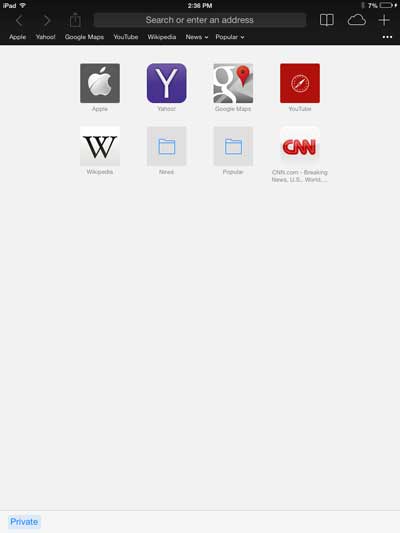
You may have been familiar with how to use Private Browsing in earlier versions of iOS on your iPad, but the update to iOS 7 changed things around a bit. Fortunately it is still there, so you can follow the steps below to learn how to use it.
Private Browsing in Safari in iOS 7 with the iPad 2
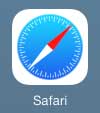
We have also written about how to do this on the iPhone 5 as well, if you also own that device and have updated to iOS 7. It’s important to note that Private Browsing does not end when you close the Safari app. You will actively need to end your Private Browsing session, or the next person that open the Safari app will be able to see some of the browsing history from your still-open browsing session. Safari does not purge the session until you turn off the Private option. Step 1: Tap the Safari icon.
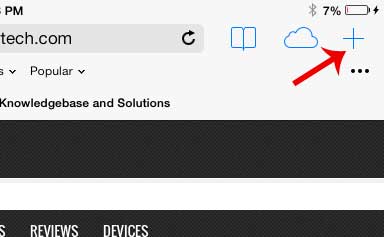
Step 2: Touch the + icon at the top-right corner of the screen.
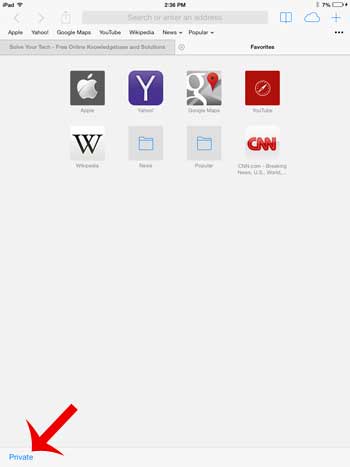
Step 3: Touch the Private button at the bottom-left corner of the screen.
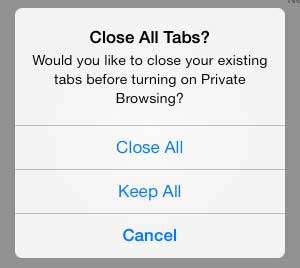
Step 4: Choose what to do with your currently open tabs.
You will notice that the coloring at the top of the screen will change from gray to black, which is what will indicate that you are currently signed into a Private Browsing session.
You can touch the + icon again at any time, then touch the Private button again to end the browsing session.
Have you been wanting to try iTunes Radio, but you haven’t been able to find it? This article will show you where it is and how to use it. After receiving his Bachelor’s and Master’s degrees in Computer Science he spent several years working in IT management for small businesses. However, he now works full time writing content online and creating websites. His main writing topics include iPhones, Microsoft Office, Google Apps, Android, and Photoshop, but he has also written about many other tech topics as well. Read his full bio here.
You may opt out at any time. Read our Privacy Policy
