Fortunately you can control the zoom level of your documents in Word 2013, so if something is difficult to read then you can use the steps below to zoom in on your document.
Zooming in Microsoft Word 2013
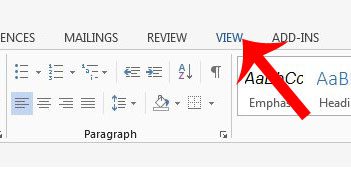
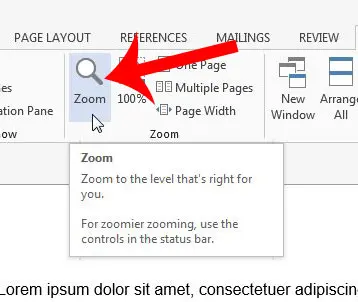
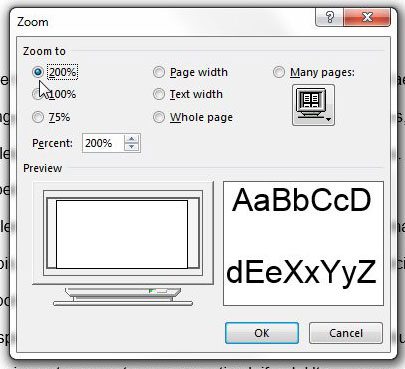
When your document is zoomed in or out in Microsoft Word 2013, it will not affect the size at which the document prints. It will only affect the size at which it is displayed on your screen. The steps in this article will show you how to zoom in on your document and make everything appear larger. You can also apply these same steps, however, if your document appears too large on your screen and you want to zoom out instead. Step 1: Open your document in Microsoft Word 2013. Step 2: Click the View tab at the top of the window. Step 3: Click the Zoom button in the Zoom section of the navigational ribbon. Note that you can also elect to click the 100% button to return to the default zoom level. Step 4: Select one of the preset zoom options, or click inside of the Percent field and manually specify the zoom amount. If you are not able to click one of the zoom options, then you might need to click the monitor icon under Many pages and select the 1×1 pages option. Click OK after you are done to apply your selected zoom setting. Do you need to set specific margin sizes in Microsoft Word 2013? Read here to learn how. After receiving his Bachelor’s and Master’s degrees in Computer Science he spent several years working in IT management for small businesses. However, he now works full time writing content online and creating websites. His main writing topics include iPhones, Microsoft Office, Google Apps, Android, and Photoshop, but he has also written about many other tech topics as well. Read his full bio here.
You may opt out at any time. Read our Privacy Policy