This is common when you need to fit data into a specific location, or when you need to print a lot of cells on a spreadsheet. we can show you how to answer the question of what is the height of a row in Excel so that you can provide that answer and make changes to that value if necessary.
How to Change Row Height in Excel 2013
Our guide continues below with more to answer the question of what is the height of a row in Excel, including pictures of these steps. The rows and columns in your spreadsheets in Microsoft Excel 2013 are all the same height and width by default. According to Microsoft’s website, the default width of columns is 8.43, and the default height is 12.75. The unit of measurement for column width is characters, and the unit of measurement for rows is points. The “point” unit of measurement is the same one used for font sizes. But you may encounter a situation where you need to know exactly how high a row in your spreadsheet is, but you may not know how to find this information. Our guide below will show you how to find the height of an individual row in an Excel 2013 worksheet.
How to Find Row Height in Excel 2013 (Guide with Pictures)
The steps below will show you how to find the height of a specific row in Excel 2013. If you select multiple rows in your worksheet, and at least one of them is not the same size, then the row height shown in the steps below will be blank. If you select multiple rows that all have the same row height, then that height will be displayed. If you would like to automatically resize your rows based on their contents, then read this article about autofitting row heights in Excel 2013.
Step 1: Open your workbook in Excel 2013.
Step 2: Locate the row number at the left side of the worksheet for the row whose height you would like to know.
The arrow in the image below is pointing to the location in question for row 3. If you don’t see row numbers, then your row headings are hidden. You can unhide them by checking the Headings option on the View tab.
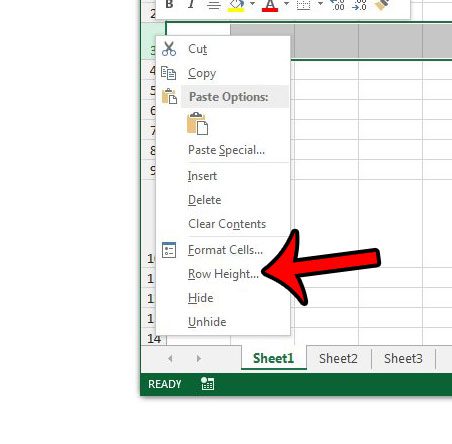
Step 3: Right-click the row number, then click the Row Height option.
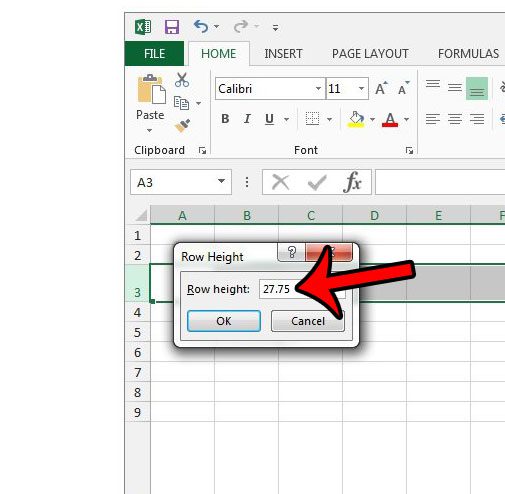
Step 4: The height of the row is displayed in the field on the Row Height window. The height of my row in the image below is 27.75.
Now that you know how to answer the question of what is the height of a row in Excel you can easily find this information in the future so that you can provide it if asked, or make an adjustment to the current row height. You might also be interested in our guide on how to autofit all columns in Excel if you need to know about quickly fitting cells to the data contained within them. Are there missing row numbers in your Excel worksheet, but you need some data that is supposed to be displayed in one of those rows? Find out why your row numbers are missing in Excel 2013.
Additional Sources
After receiving his Bachelor’s and Master’s degrees in Computer Science he spent several years working in IT management for small businesses. However, he now works full time writing content online and creating websites. His main writing topics include iPhones, Microsoft Office, Google Apps, Android, and Photoshop, but he has also written about many other tech topics as well. Read his full bio here.
You may opt out at any time. Read our Privacy Policy